ATT has been a leader in developing the dynamic capability of high-speed photogrammetry in the industrial space. For decades, we have successfully utilized traditional photogrammetry to solve customer needs worldwide. Our ability to capture high amounts of data points using passive targets removes some limitations of other inline metrology hardware.
Additionally, as our customers continue to automate throughout their manufacturing cycle, ATT has identified an industry need for photogrammetry solutions that provide the accuracy of traditional photogrammetry with the speed of existing high-speed photogrammetry. Through our knowledge base and exposure to both technologies, we are actively working with Hi-Speed photogrammetry industry partners to integrate their latest technology and create inline metrology solutions in manufacturing.
A Custom Metrology Solution for Your Application
Our application experts work closely with our development team to design appropriate integrated measurement systems for your business.
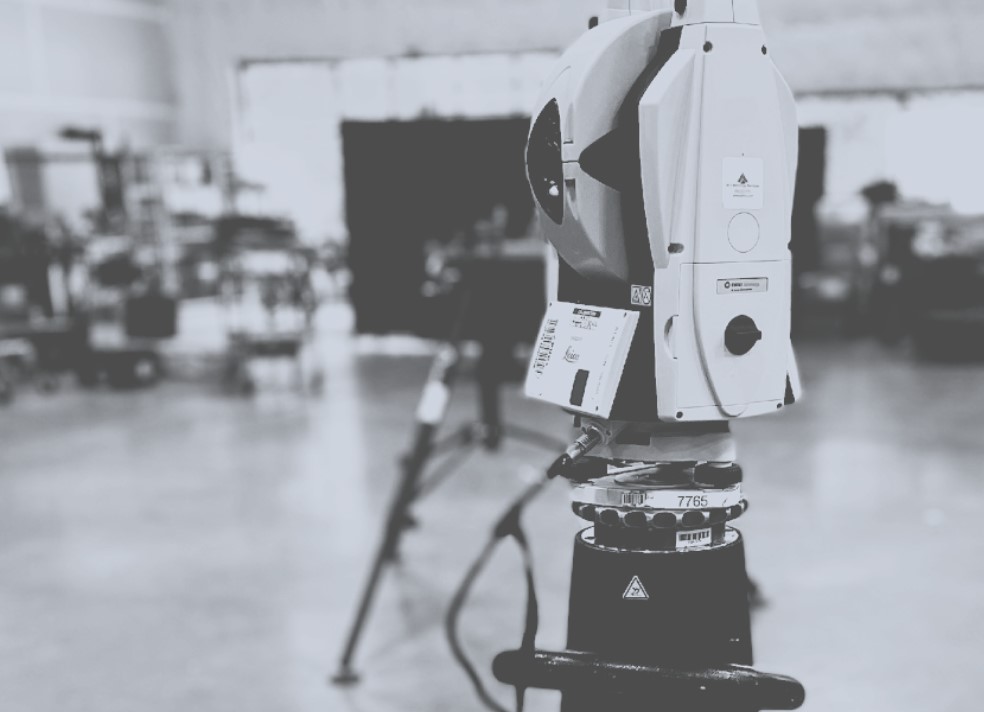
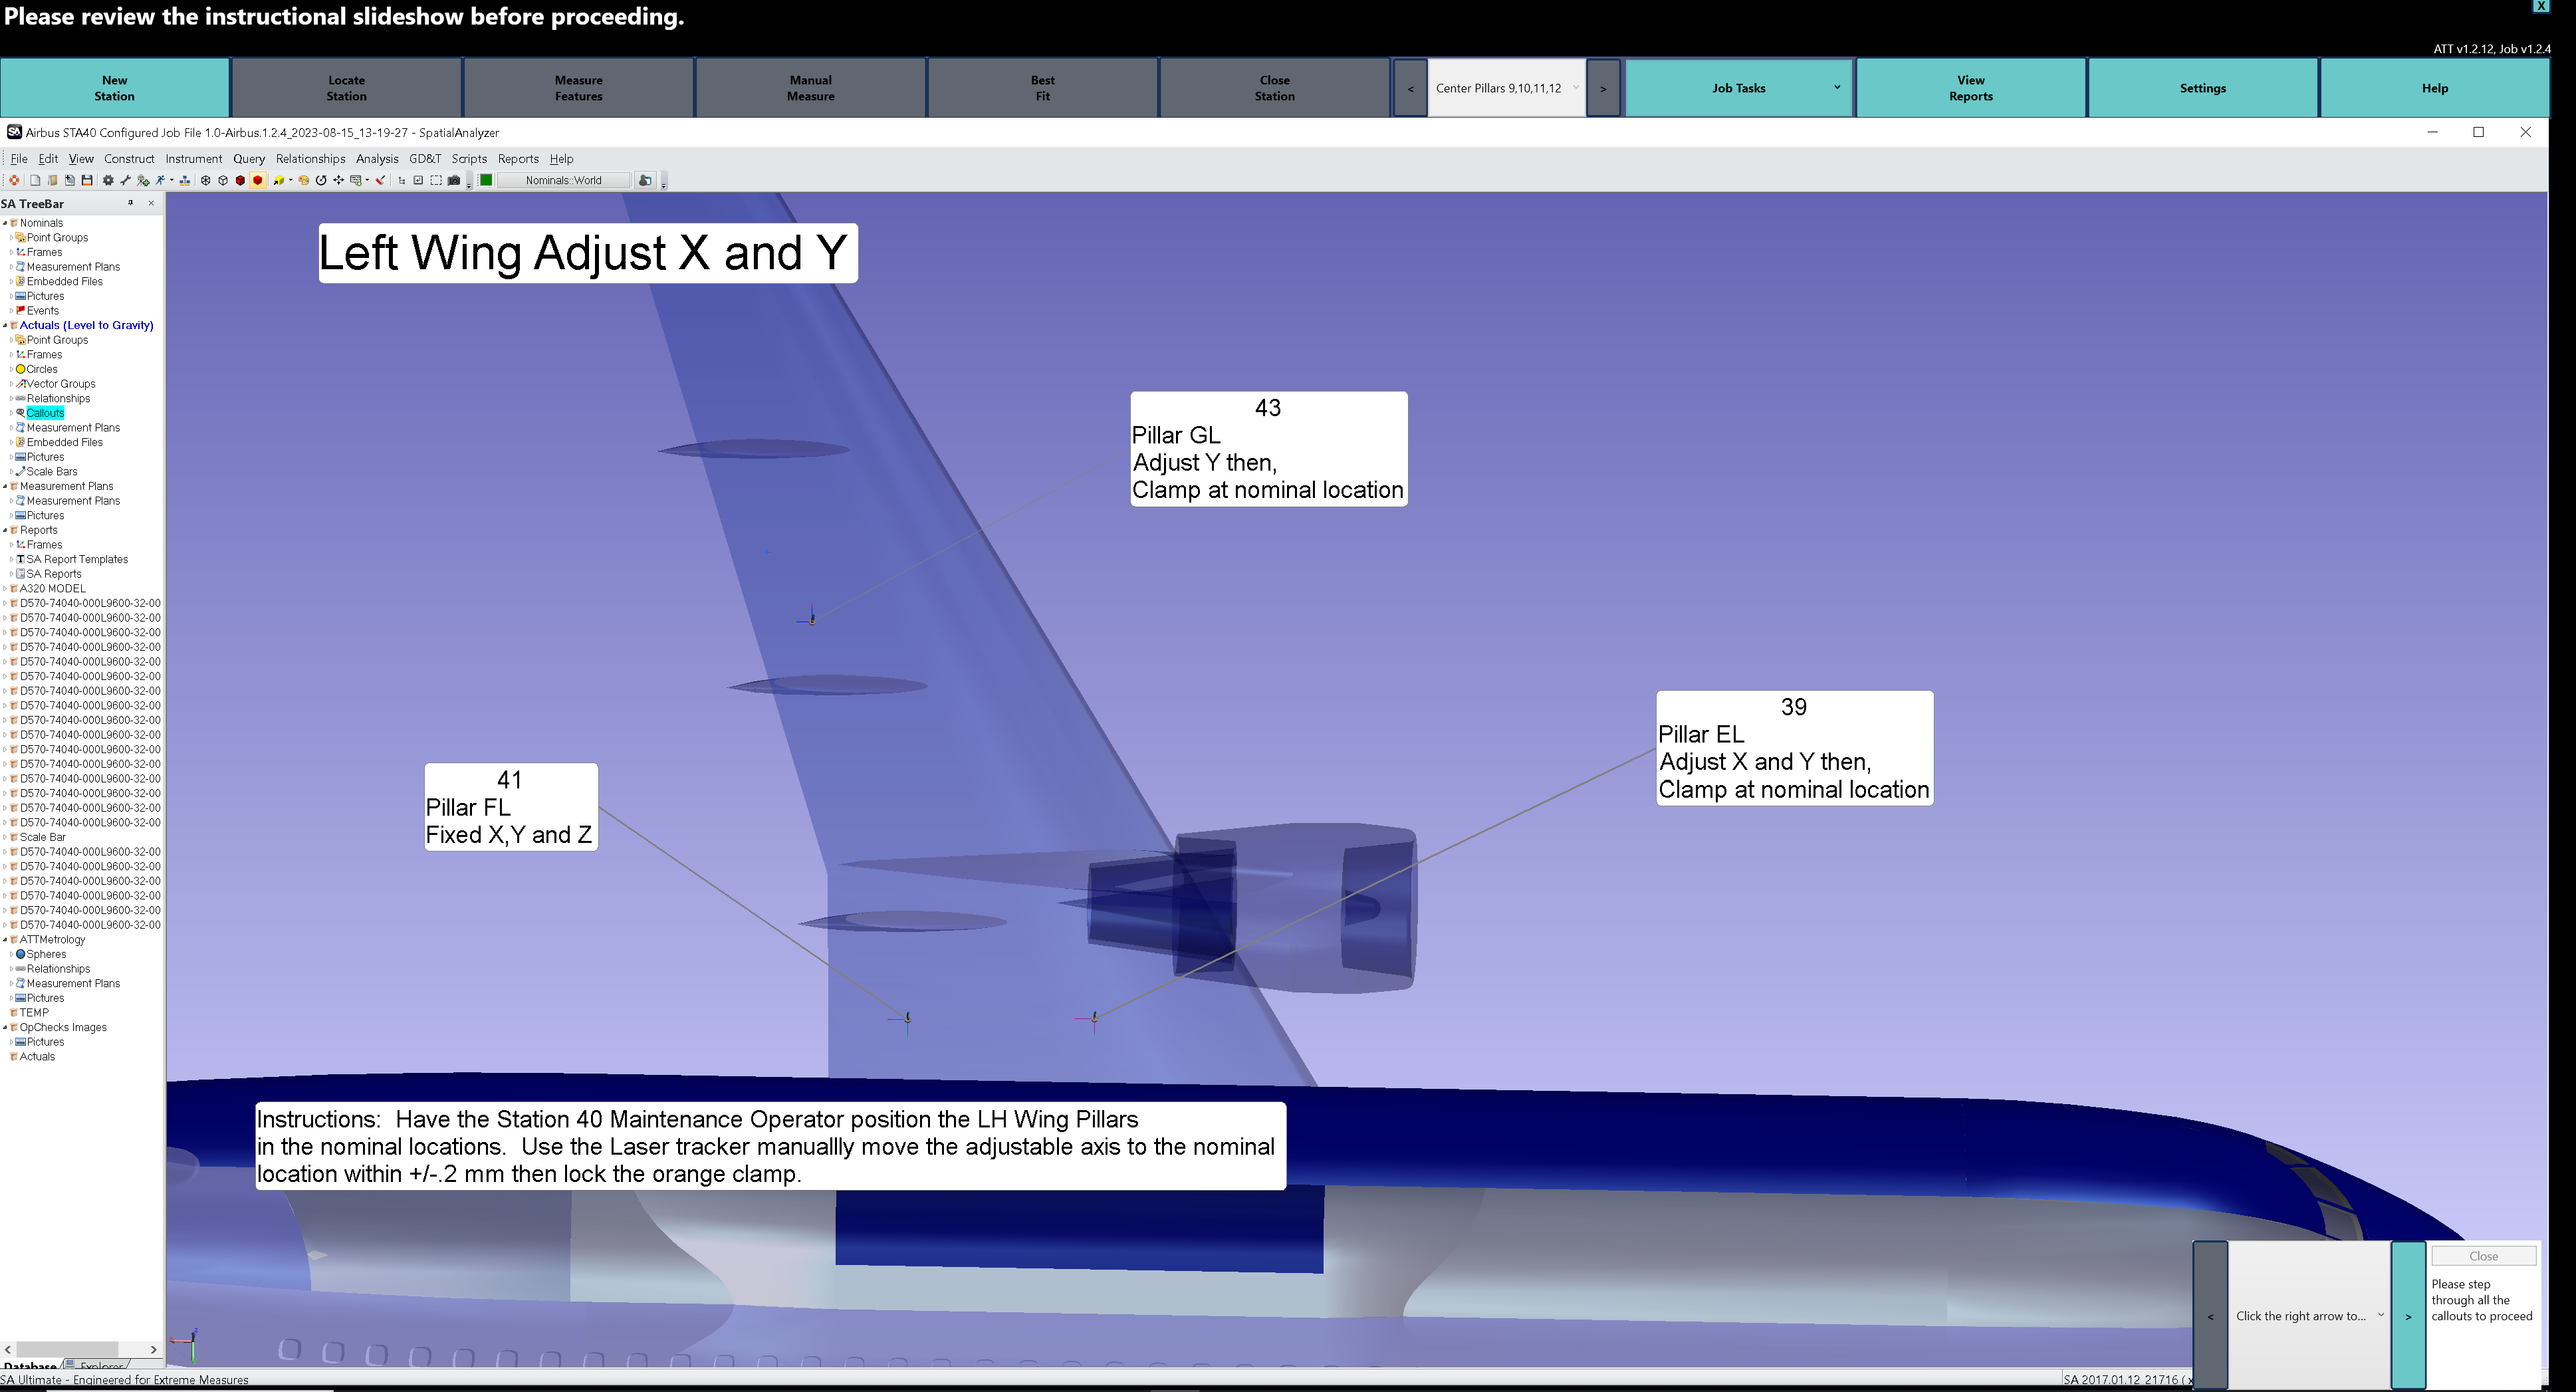
We integrate the most appropriate inline measurement technology hardware, supporting hardware and measurement processes with a graphical user interface around a specific application.
Complete integrated measurement systems include all required targets/fixtures, interfaces, training and operating procedures.
Benefits of high-tech custom metrology solution include:
What Problems Can
Custom Metrology Integration
Solve for You?
WE MEASURE SUCCESS BY THE EFFECTIVENESS OF YOUR RESULTS
Design Experience – Custom Metrology Integration
The Challenge
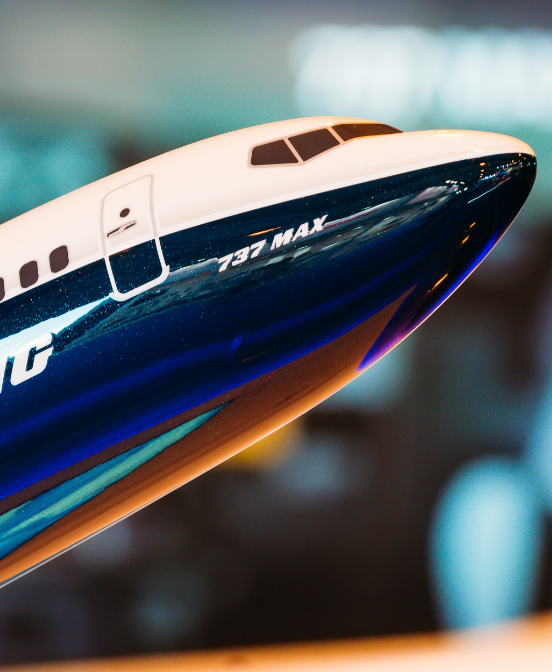
Aerotec hired ATT to provide an external scan of a Boeing 737 to simulate the effect of aerodynamic modifications on the aircraft. The high accuracy of a digitized as-built model would maximize the aerodynamics following the modification. This was to be done as quickly as possible to minimize aircraft downtime.
Solution
Since the aircraft was on its wheels (not jacked), the scanning solution needed to move with the aircraft.
The laser tracker was used to locate datum features on the aircraft. Spatial Analyzer software was used for this. Targets were placed 6” apart around the aircraft areas to be scanned to map the surface. The photogrammetry camera was used to photograph the areas with targets. That data went into GSI software as target points.
The Creaform HandyScan was then used to scan the aircraft, which includes the target data, into VXelements software. The GSI target values were imported into VXelements to stitch the HandyScan data to the network of points created by the photogrammetry system. A polygonized model was created inside of VXelements. Data was mirrored for modeling purposes using aircraft datums.
Results
ATT Metrology scanned the required surface to within ±.010” accuracy and minimized downtime using the methods above. ATT processed billions of points, created polygonized surfaces over the 7 days, and then provided final data to the customer 48 hours after job completion. Alternative methods require more post-processing, less accurate data, line-of-sight restrictions, and blind spots in the data.
Integrated Systems Projects
Seamless, Custom Metrology Integration
At ATT, we show our commitment to improving your processes and maximizing investment by designing tailored measurement systems for your business. Leverage ATT’s expertise to solve your inline measurement challenges.
