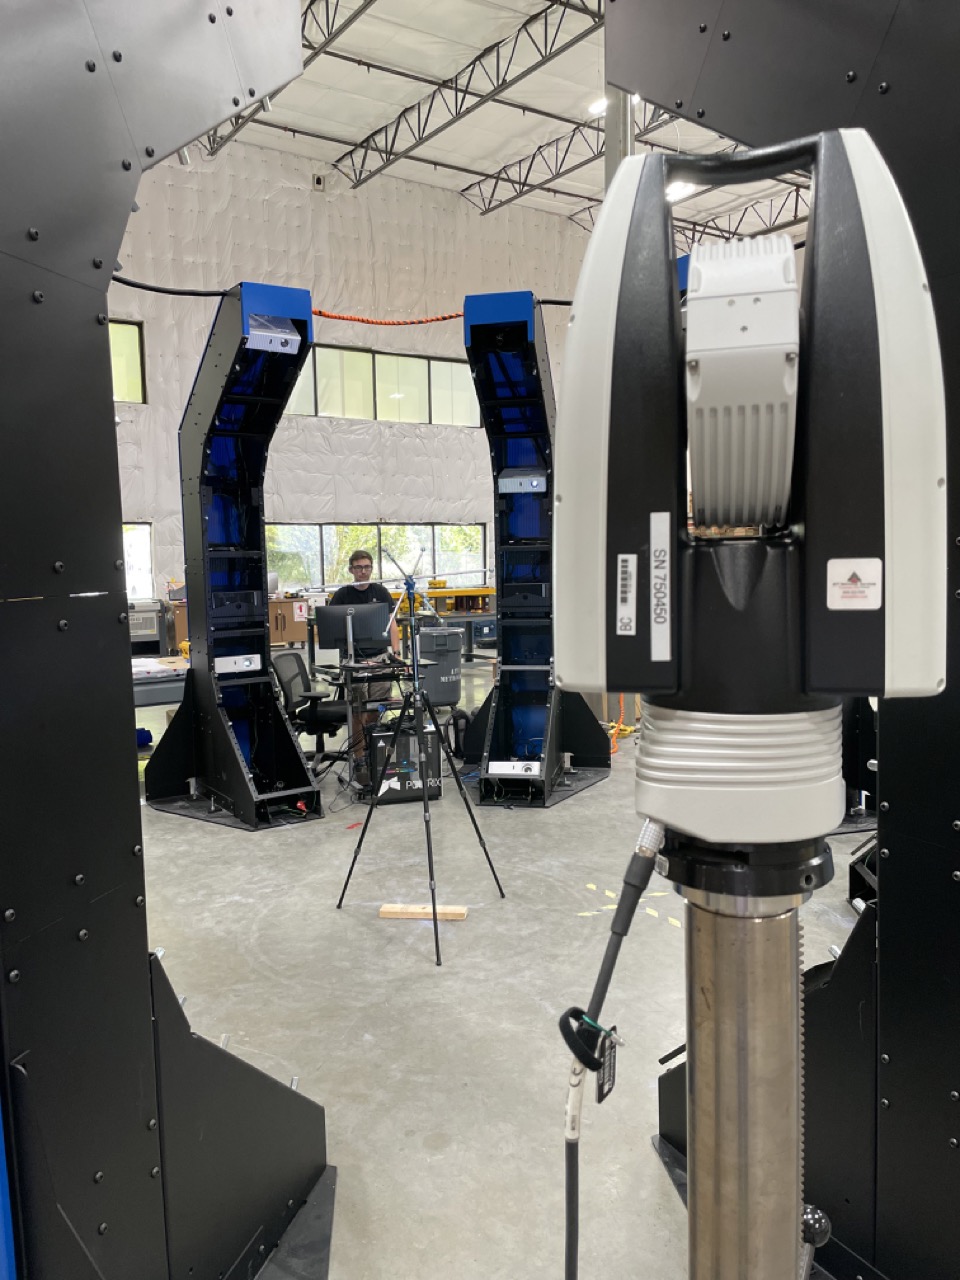
Polyrix System Features
Polyrix integration captures millions of measurement points 3- 4 times faster than robotic or handheld scanners – without user interaction.
This motionless system features unique calibration that eliminates the need for data alignment and multiple baselines to increase accuracy when measuring points.
No robots, no movement, safe and requires minimal training for operation – Enlist ATT’s Polyrix systems metrology services and boost your overall production efficiency.
Key features of Polyrix Systems scanning technology:
- No robust safety requirements
- No complex scan registration
- No trajectory programming and risk of collision
What Problems Can Polyrix Integration Solve for You?
WE MEASURE SUCCESS BY THE EFFECTIVENESS OF YOUR RESULTS
Polyrix Integration

The Challenge
A company came to ATT for a solution to scan large objects within the working volume of a robotic cell. These objects must be scanned before machine operation to orient the part(s) in space relative to the machine for collision avoidance. A tolerance of ±0.005” was requested.
Attaching a scanning metrology device to the robot was not practical for two reasons: 1) using such a device on the end effector requires the part to be indexed relative to the robot first, which is why the scan was initially required and 2) swapping end effectors for a scanning device was not practical due to the size and complexity of the existing end effector and application.
Another consideration was that the solution should capture the total volume of machine travel to prevent collisions with the peripheral objects in the cell.
Solution
The ATT team identified the Polyrix PolyScan™ system as an ideal solution to our customer’s problem statement. Given the Polyrix capability, we scan all objects within its scanning volume relative to the Machine Frame using a structured light scanning approach.
This integration provides the geometry of the primary object, all other peripheral objects, and the location of the objects in the machine frame for robot path optimization. With the proposed approach, we removed the limitations associated with robotic-controlled scanning for our customer’s requirements.
Results
ATT has integrated two Polyrix Systems on-site, with a third system being commissioned for a larger machine cell. The systems are achieving an accuracy of ±0.005”. Current scan time is 6-8 minutes and is reducing with further optimization of the adjustable projector firing and camera capture speeds.
Transforming Quality Inspection in Manufacturing
Polyrix PolyScan™ Surround 3D systems are simple, fast and safe. Schedule an introductory demonstration today and discover how you can leverage Polyrix industrial scanning technology for faster quality inspection throughput.