Leading Auto Manufacturer
Leading Auto Manufacturer United States

Problem Statement
A leading automotive manufacturer was experiencing significant delays in its Body-in-White (BIW) quality inspection process. The traditional Coordinate Measuring Machine (CMM) setup required that components be transported to a metrology room, which led to production bottlenecks and increased downtime. Additionally, using multiple OEM software solutions for robot path planning, metrology data processing, and inspection management resulted in complex workflows that required extensive training and maintenance.
To meet the demands of high-speed production while ensuring dimensional quality, the manufacturer needed an automated, inline inspection solution capable of delivering CMM-level accuracy directly on the production line. The ideal solution would also simplify the software landscape, enabling a single platform for robot programming and data processing.
Solution
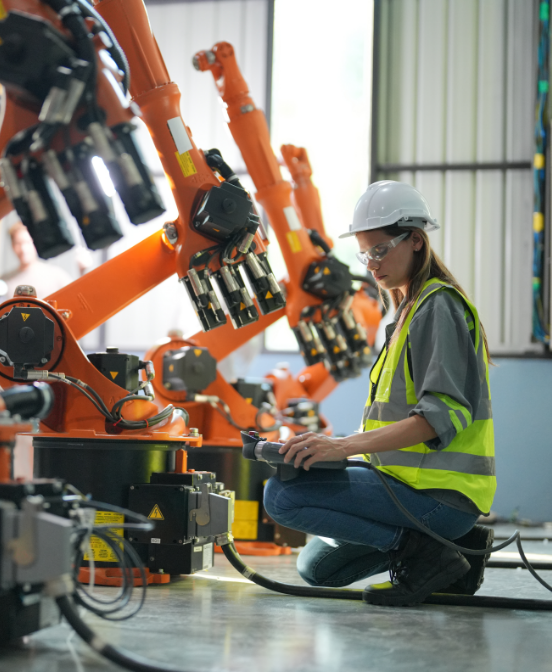
To address these challenges, ATT Metrology Solutions deployed a Leica ATS800 laser radar system in its BIW assembly line, integrated with Metrologic iRobot software. The Leica ATS800’s high-precision, non-contact laser radar capabilities offered absolute coordinate measurement on the shop floor, eliminating the need to transfer parts to a dedicated inspection room.
By using Metrologic iRobot as a unified software solution, the manufacturer streamlined robotic path planning, metrology data acquisition, and data analysis into a single platform. The iRobot software allowed rapid and accurate programming of complex measurement paths, making it easy to inspect critical features such as holes, slots, and studs without part-specific adapters or surface preparation. This significantly reduced programming and setup time while maintaining the absolute accuracy required for dimensional quality in automotive manufacturing.
The integration of the ATS800 also allowed for flexible robot positioning, enabling inspection of multiple BIW components from fewer static points. This minimized the need for frequent recalibrations, further reducing downtime and enabling seamless quality inspections without impacting production flow.
Results
By implementing the Leica ATS800 laser radar and Metrologic iRobot software, the automotive manufacturer achieved remarkable improvements in its BIW quality inspection process:
- 50% Reduction in Inspection Time: The inline laser radar inspection reduced the need to transport parts to the metrology room, cutting total inspection time by half and improving production throughput.
- 30% Increase in Process Efficiency: The single-platform approach with Metrologic iRobot eliminated the need for multiple software systems, reducing operational complexity, training time, and maintenance costs.
- Enhanced Dimensional Accuracy: With CMM-level precision on the production line, the ATS800 system provided highly accurate, absolute measurements directly in the production environment, resulting in fewer dimensional defects, less rework, and improved product quality.
- Scalable and Flexible Solution: The system’s adaptability allowed for quick changes in inspection requirements, supporting new models or component variations without significant reprogramming.
The deployment of the Leica ATS800 laser radar and Metrologic iRobot software established a scalable and future-ready quality inspection solution that met the manufacturer’s goals of improving production efficiency, reducing downtime, and ensuring high-quality, precise BIW measurements in real-time. This transformation highlights how ATT Metrology Solutions can drive success in automotive manufacturing by delivering reliable, accurate data for Quality 4.0 production environments.